
Hey folks! If you’re running a website for your business here in Idaho — or anywhere, really — accepting online payments is a game-changer. Stripe makes it easy to handle credit cards, bank transfers, and more right on your site. Whether you’re selling products, services, or donations for your organization, setting up a Stripe account is the first step. In this guide from idahomepages, we’ll break it down into simple steps. We’ll keep it friendly and straightforward, like explaining it to a friend over lunch. No tech jargon overload — just what you need to get started.
Why Create a Stripe Account?
Stripe is a top choice for website owners because it’s secure, user-friendly, and works with tons of tools like e-commerce platforms. For your business or non-profit, it lets you collect payments online without hassle. Plus, it’s great for Idaho entrepreneurs — low fees, quick payouts, and it handles taxes automatically in many cases. If you’re building or managing a site with idahomepages, integrating Stripe means smoother operations and happier customers. Best part? You can test everything in “test mode” before going live.
Step-by-Step Instructions
Getting set up takes about 10-15 minutes if you have your info ready. You’ll need things like your business details, bank info, and ID for verification. Let’s dive in:
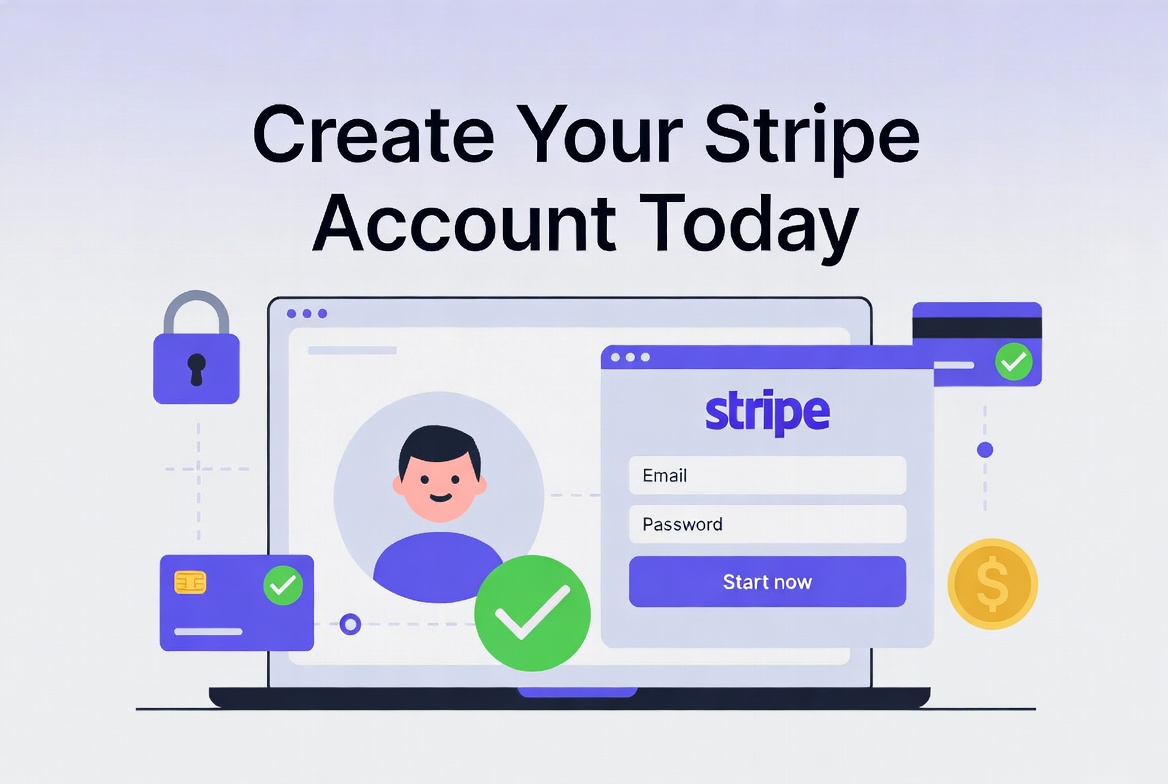
- Head to the Stripe Website: Open your web browser and go to stripe.com. Look for the “Start now” button on the homepage — it’s usually right in the center. Click it to begin. (Or go straight to dashboard.stripe.com/register.)
- Sign Up with Your Details: Fill in your email address (use a business one if you have it), full name, and create a strong password. Select your country—United States for most of us here. Click “Create account.” Stripe will send a verification email right away.
- Verify Your Email: Check your inbox for an email from Stripe. Click the “Verify email address” link inside. This confirms you’re the real deal and unlocks the next steps.
- Enter Your Business Information: Now you’re in the Stripe Dashboard. Click on “Activate your account” or go to the onboarding section. Choose your business type:
- Individual/Sole Proprietor: If it’s just you, enter your personal details like date of birth, home address, phone number, and the last four digits of your Social Security Number (SSN).
- Company/Organization: For LLCs, corporations, or non-profits, provide the business name, address, phone, Employer Identification Number (EIN), and info about owners or executives (like their names and ownership percentage). Make sure everything matches your official records—Stripe checks this for security.
- Connect Your Bank Account: To get paid, add your business bank details. Enter the account number, routing number, and account holder’s name. Stripe will verify this with small test deposits (usually 1-2 business days). This step is key for payouts.
- Set Up Security: Stripe requires two-step authentication for safety. Link your phone number or use an app like Google Authenticator. You’ll get a code via text or app each time you log in. It’s like an extra lock on your door—turn it on right away.
- Complete Verification if Needed: Depending on your business type and location, Stripe might ask for more proof. Upload a photo ID (like a driver’s license), business documents (like articles of incorporation), or proof of address. For organizations, have your tax-exempt status ready if applicable. This “Know Your Customer” (KYC) process activates live payments.
- Activate and Test: Once everything’s submitted and approved (usually instant for basics, up to a few days for verification), your account is active! Switch to “test mode” in the Dashboard to try things out without real money.
That’s the basics! Stripe reviews your info quickly, and you’ll get emails if anything needs fixing.
A Few Tips for Success
- Gather Docs First: Have your SSN/EIN, bank info, and ID handy to avoid delays.
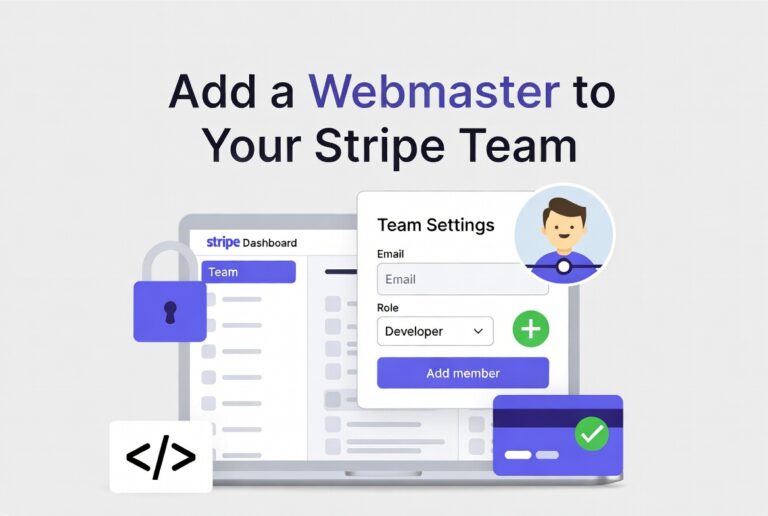
- Business vs. Personal: If you’re a solo operation, individual setup is simpler. For teams or orgs, go with company to add members later.
- Country Notes: This guide is for U.S. businesses, but Stripe works in many countries — check their site for specifics if you’re international.
- Security Boost: Enable email notifications for account changes and review activity often.
- Integration Help: Once set up, connect Stripe to your website. If you’re using idahomepages, we can guide you on plugins like WooCommerce or custom setups.
- What If Issues Arise?: If verification takes time, contact Stripe support via the Dashboard. They’re helpful and respond fast.
Creating a Stripe account opens up new ways to grow your business online. Now you can focus on what you do best — whether that’s crafting Idaho-made goods or running community events. If this helped, share it with fellow website owners! Questions? Comment below or reach out to us at idahomepages. Let’s make your site pay off — literally!