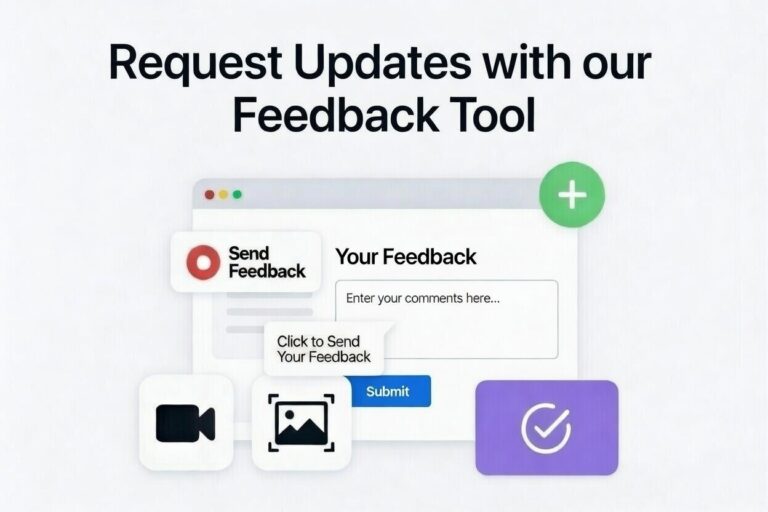

Hey there, website owner! If you’ve got a site built with idahomepages, you’ve probably noticed our handy feedback tool on the right side of your screen. It’s perfect for pointing out issues or suggestions directly on your pages with screenshots. This makes it easy for you or your team to share visual feedback without hassle. In this guide, we’ll walk you through the steps in a simple, friendly way — like chatting with a buddy about tech tips. No complicated stuff here; just straightforward instructions to get your feedback sent quickly.
Why Use Screenshots for Feedback?
Screenshots let you show exactly what’s on your mind, like highlighting a wonky button or suggesting a layout tweak. It’s way better than describing things in words alone. For idahomepages customers, this tool is built right into your site, so you can submit tickets anytime without leaving the page. Plus, it keeps everything organized — your feedback goes straight to our support team, and you can get updates via email. It’s secure, fast, and helps us make your website even better.
Step-by-Step Instructions
Ready to give it a try? The toolbar is usually on the right edge of your screen. If it’s not showing, refresh the page or check your login. Here’s how to submit screenshot feedback:
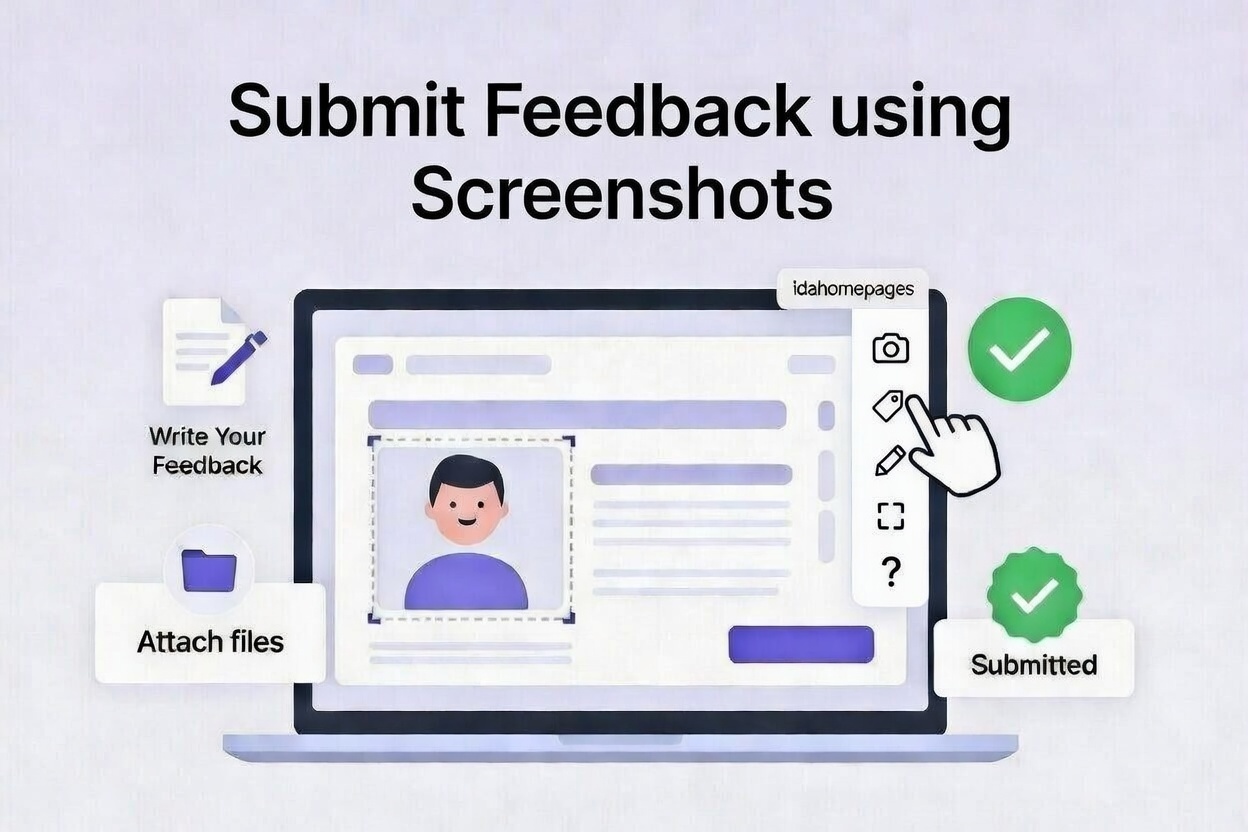
- Click the Screenshot Button: Look for the toolbar on the right side of your screen. Click the screenshot icon (a camera) to start. This captures your current view and opens up editing tools.
- Draw on the Screen: At the top of your screen, you’ll see a new toolbar for editing. Use the pen tool to draw lines or notes. If you mess up, hover over what you’ve drawn, and a remove symbol will pop up—click it to erase. You can also draw a rectangle to box in specific areas.
- Place the Marker: To point out exact spots, click the marker icon to turn on marker mode. Then, click on the screen where you want to drop the marker. If it’s not quite right, just drag it to move it around.
- Write Your Feedback: Along with the screenshot, add a text description of what the feedback is about. Be clear—like “This button is too small” or “Add more info here.” This helps our team understand and act fast.
- Enter Your Name and Email: We need to know who’s sending the feedback. Fill in your name and email—this is just once, and it’s stored securely. Your email lets us send you notifications when we update or fix things. Check out our notifications section for more details on that.
- Submit the Feedback: Review everything, then hit the submit button. Your screenshot and notes will be sent off, and you’re all set!
That’s it—quick and painless!
Finding Help Docs
If you need a refresher or more details, the toolbar has built-in help. Just click the ? icon at the bottom of the icon bar on the right. This opens up how-to guides for screenshot feedback, video feedback, viewing your feedback items, and managing notifications. It’s like having a quick reference manual right there whenever you need it.
A Few Tips for Success
- Make It Clear: Use drawings and markers to spotlight issues, but pair them with short, specific text for the best results.
- First Time?: If it’s your initial submission, double-check your name and email so notifications work right.
- Notifications: Once submitted, you’ll get emails on progress—like when we start working on it or when it’s done. You can manage these in your account settings.
- Need More Help?: If the toolbar isn’t appearing or something’s off, reach out to us at idahomepages. We’re here to support your site!
- Privacy Note: Your feedback is private and only shared with our team. We use it to improve your website experience.
Using screenshots for feedback saves time and gets issues fixed faster. Now you can keep your site running smoothly without the back-and-forth. If this guide was helpful, share it with your team! Got questions? Drop a comment below or contact idahomepages. Let’s keep your online presence top-notch!