

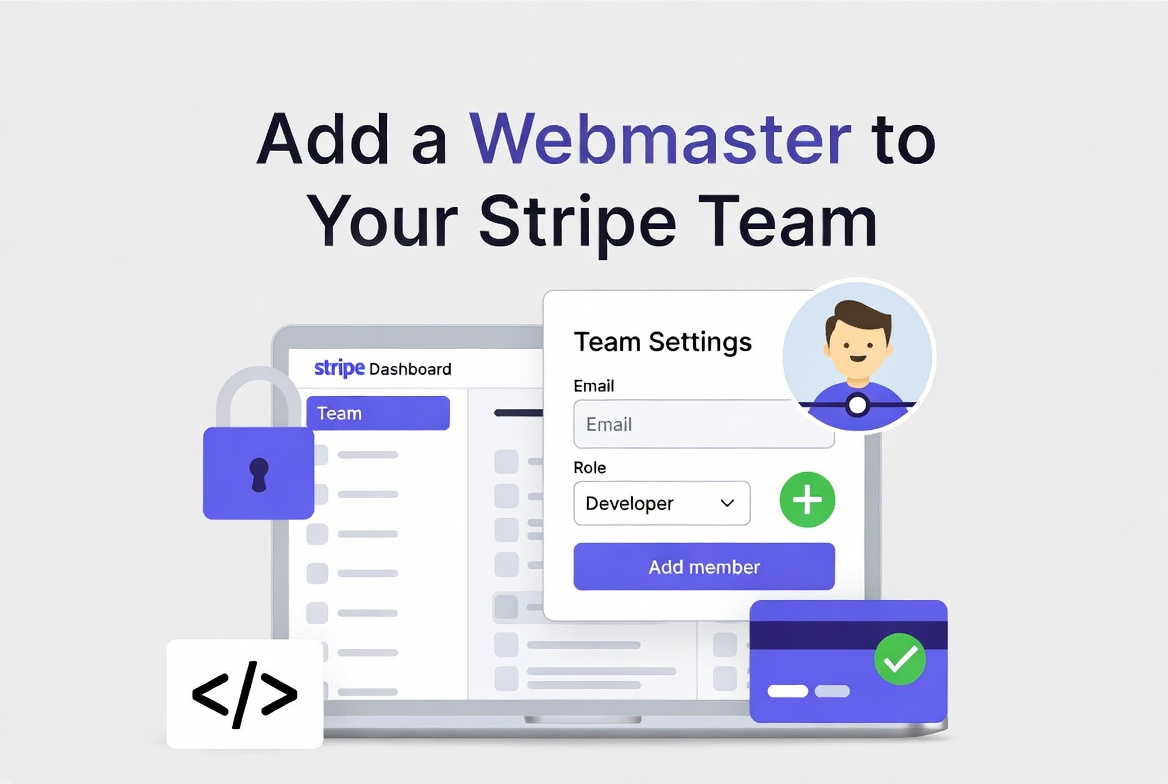
Hey there, fellow website owner! If you’re using Stripe to handle payments on your site — like many of us do here in Idaho — you might need to bring in a webmaster to help with the tech side of things. Adding them as a team member is a smart move. It lets them access what they need without giving away full control. Don’t worry, it’s straightforward and secure. In this guide, we’ll walk through the steps in simple terms. We’ll keep it friendly and easy to follow, just like chatting with a neighbor over coffee.
Why Add a Webmaster to Your Stripe Team?
First off, a quick note: Stripe is great for online payments, but sometimes you need an expert to set up integrations, fix issues, or tweak settings. If you’re working with a service like idahohomepages, your webmaster might need access to do their job right. By adding them as a team member, you can choose exactly what they can see and do. This keeps your account safe while getting the help you need.
Step-by-Step Instructions
Ready to get started? Log into your Stripe account first. You’ll need to be the account owner or have admin rights to invite others. Here’s how to do it:
- Head to the Team Settings: Once you’re in the Stripe Dashboard (that’s the main control panel), look for the “Settings” gear icon in the top right corner. Click it, then select “Team” from the menu. This takes you to where you manage your team members.
- Click to Add a New Member: On the Team page, you’ll see a button that says “+ Add member” or “New member” in the top right. Give that a click.
- Enter Their Email: Type in your webmaster’s email address. If you’re adding more than one person, you can separate emails with commas or spaces. Stripe lets you invite multiple folks at once.
- Choose the Right Role: This is important — pick a role that fits what your webmaster needs. For example:
- Developer: Great for someone handling code and integrations, like connecting Stripe to your website.
- Administrator: If they need more access, like managing payments or settings.
- Analyst: If they’re just looking at data and reports. Stripe has options like Owner, Support Specialist, and more. Go with the lowest level that works to keep things secure. You can always change it later.
- Review and Send the Invite: Double-check everything, then hit “Send invites” or “Invite.” Your webmaster will get an email with a link to accept and set up their login. Invites last for 10 days, so remind them to act fast if needed.
That’s it! Once they accept, they’ll show up in your Team list, and you can edit their role anytime by clicking the three dots next to their name and selecting “Edit.”
A Few Tips for Success
- Security First: Always turn on two-step authentication for your team. It’s like adding an extra lock on your door — Stripe recommends it to stay compliant and safe.
- What If Something Goes Wrong?: If the invite doesn’t go through or you need to remove access, head back to the Team settings. You can resend invites or delete members easily.
- Need More Help?: Check out Stripe’s full guide for details on roles and permissions. Or feel free to reach out to us here at idahohomepages for web support — we’re here to make your online life easier.
Adding a team member like this can save you time and headaches. Now your webmaster can jump in and handle the Stripe stuff while you focus on growing your business. If you have questions, drop a comment below or contact Stripe support. Happy payments!