
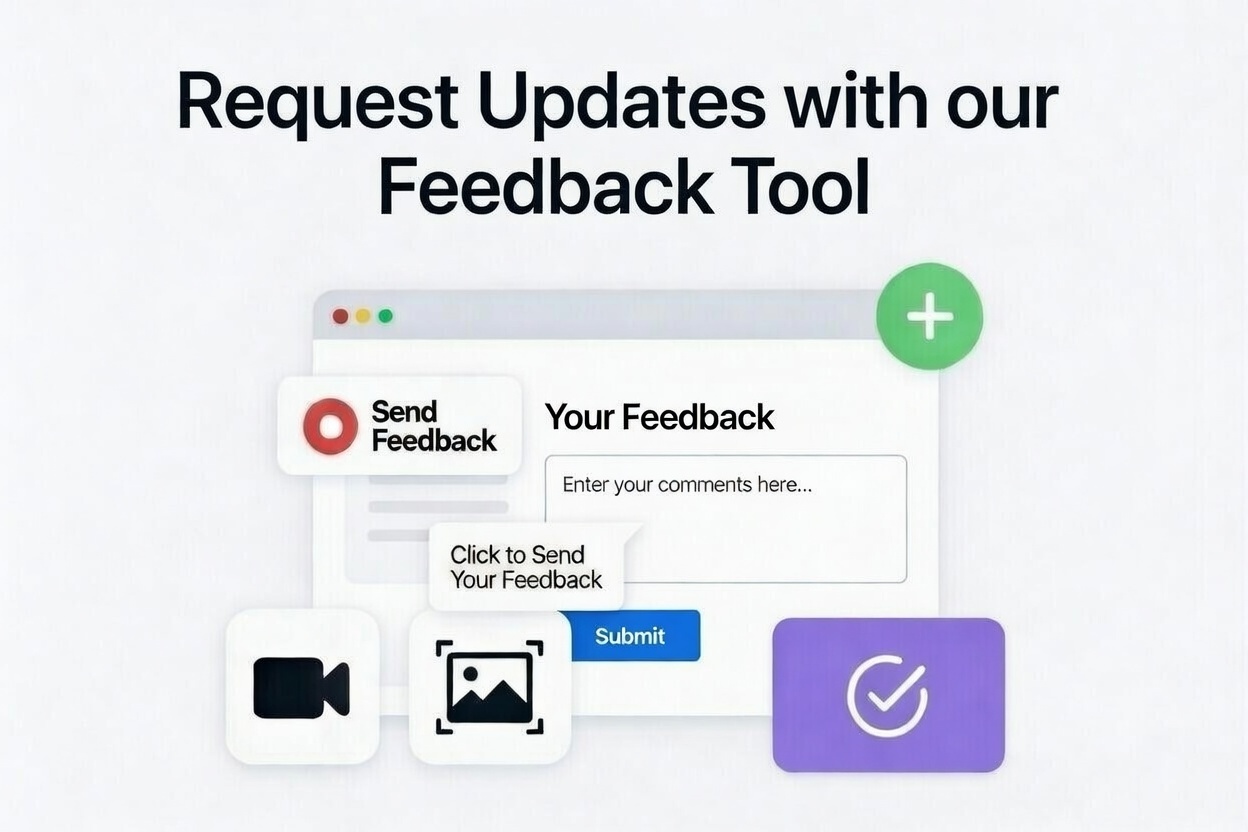
Hey there, website owner! If you’re using idahomepages to build and manage your site, we’ve got a great tool that makes giving and handling feedback super easy. It’s built right into your website, so you and your team can point out issues, suggest changes, or share ideas without switching apps or sending long emails. This tool helps everyone stay on the same page and get things fixed faster. In this guide, we’ll walk you through how it works in a simple, step-by-step way. Think of it as a friendly chat about how to make your site even better.
Why Use the Feedback Tool?
This tool lets you capture what’s on your screen with screenshots or videos, add notes, and send it all to the team. It’s perfect for spotting a glitchy button, suggesting a new design, or explaining a problem visually. Everything stays organized, and you can track progress with notifications. Plus, it’s secure — your info is only used for updates, and we never send spam. Let’s dive into the features.
Submitting Feedback with Screenshots
Screenshots are a quick way to show exactly what you mean. Here’s how to do it:
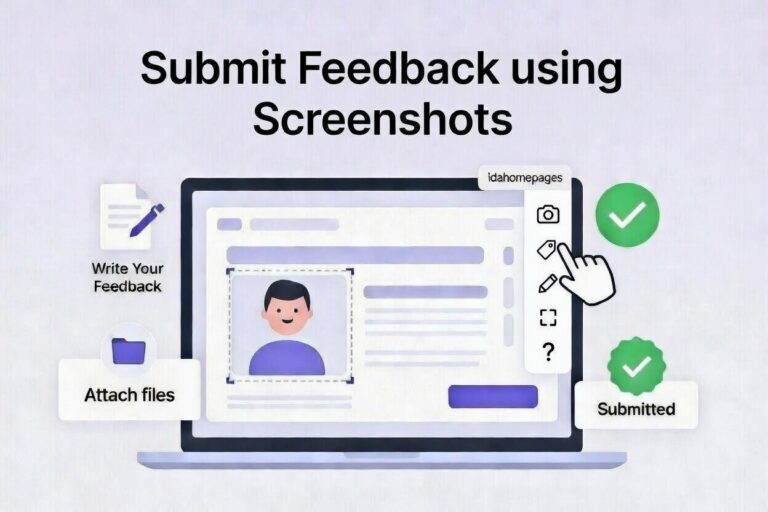
- Click the Screenshot Button: Look for the toolbar on the right side of your screen. Click the camera icon to start.
- Draw on the Screen: A new toolbar appears at the top. Use the pen tool to draw lines or notes. If you make a mistake, hover over the line to see a remove symbol and click it. You can also draw rectangles to highlight areas.
- Place the Marker: Click the marker icon to turn it on, then click where you want to point something out. Drag it if you need to move it.
- Write Your Feedback: Add a short text description to explain the issue, like “This image is blurry” or “Move this button here.”
- Enter Your Name and Email: Tell us who you are so we can credit you and send updates. You only do this once, and it’s safe. (More on notifications below.)
- Submit the Feedback: Hit the submit button, and it’s sent. Done!
This method is great for simple, visual feedback that gets right to the point. For detailed instructions on using this feedback method, please read our follow-up article: How to Submit Feedback Using Screenshots on Your Website
Submitting Feedback with Video Recordings
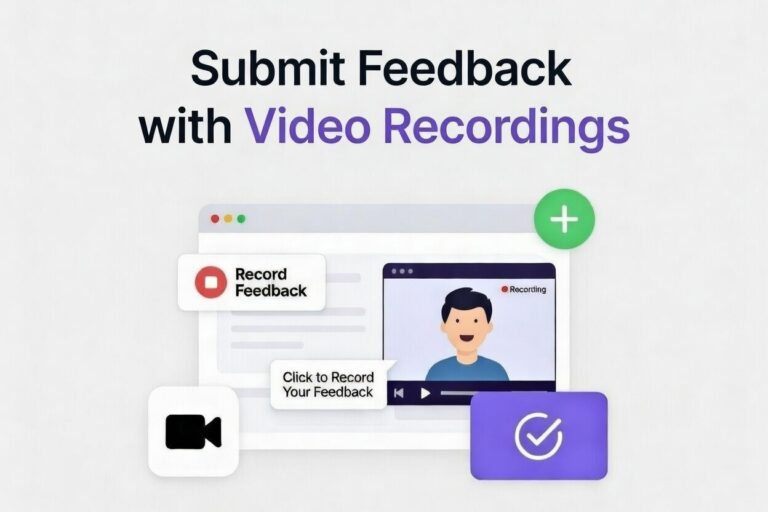
For more detailed explanations, try video. It captures your screen and even your voice if you want.
- Click the Record Button: In the right-side toolbar, click the video camera icon.
- Optionally Record with Voice: If you want to add audio, make sure the microphone icon is on.
- Share Your Screen: A pop-up asks you to share your screen. We suggest sharing just the website tab. If using voice, allow microphone access.
- Click Start Recording: Once set up, hit start. You’ll see a countdown.
- Record Your Feedback: Go ahead and show what you mean while talking or navigating.
- Pause and Resume (Optional): Click the pause icon if needed, then resume when ready.
- Complete the Recording: Click the stop icon. A preview pops up so you can check it.
- Write and Submit: Add a text description, then submit. All set!
Videos are ideal when you need to walk through a process or show something in action. For detailed instructions on using this feedback method, please read our follow-up article: How to Submit Feedback Using Video Recordings on Your Website
Viewing and Managing Feedback
Once feedback is submitted, it’s easy to review and update it.
- View All Submitted Feedback: Click the chat icon in the toolbar to see everything posted on your site.
- View a Specific Item: Click on a feedback entry to expand it. Then, choose “View screenshot” or “View recording” to see the details.
- Comment on Feedback: In the expanded view, read comments from others. Add your own in the text area and click “Comment.” This makes you a subscriber for updates.
- Resolve Feedback: If the issue is fixed, click the checkmark icon. It moves to the “Resolved” tab.
- Unresolve Feedback: If it’s not really done, click the undo icon to move it back to “Unresolved.”
This keeps your feedback organized into tabs like “Unresolved” and “Resolved,” so you can focus on what’s active.
Staying Updated with Notifications
Notifications keep you in the loop without constant checking.
- Becoming a Subscriber: When you submit feedback or comment on it, you automatically subscribe.
- When You Get Notified: You’ll receive emails for new comments, when something is resolved, or unresolved.
- Email Privacy: We only use your email for these updates—nothing else. No spam, ever.
- Unsubscribing: Each email has a link to stop notifications for that feedback item.
This system ensures everyone involved gets timely alerts, making collaboration smooth.
This feedback tool is all about making website improvements hassle-free and fun. If you have questions or need help, reach out to us at idahomepages. Start using it today, and watch your site get even stronger!